With Release 12.1.3 oracle has introduced the functionality
for Mass Update of Install Base Item Instances using the desktop Integrator
WEBADI tool. Oracle introduced the WebADI batch type with release 12.1.3 by
patch 16095785:R12.CSI.B. In order to proceed with using the Mass Update batch
type WebADI one has to apply the above patch first.


Manage Item Instances


Search and Manage Item Instances

Key Features
After the patch is applied check first if all
mandatory Install Base setups are in place. The most important would be to set
the profile option “Service: Inventory Validation Organization” to a valid organization.
Once the above setups are complete login to Oracle Installed
Base Agent User Responsibility (R) -> Item Instances and click on Mass Update
as shown below

In the Mass Update windows choose create batch option as WEB
ADI and click on GO.

Now provide a unique Batch name for your batch as shown
below and in Action there are two operations available:
·
Manage Item Instances:-> Choose this option
to create new Item Instances.
·
Search and Manage Item Instances:-> Choose
this option to update the existing item instances in the system.

Manage Item Instances
After choosing Manage Item Instances and clicking on Next
below screen appears, and now you have to choose the viewer the below options
are available. I would recommend clicking on Excel 2007 if you are on a higher
version of MS Excel. In this document we will be going with Excel 2007.

Once you click on Next oracle will start downloading an
excel file to your local machine choose Open once the below dialogue box opens.

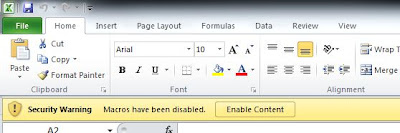
Now as the excel opens click on Enable editing if below
message appears.

Next the below message will appear and click on Enable
Content.
As you click on Enable Content the below screen appears,

Finally the WebADI gets downloaded as shown below with the
configuration message click on close and now your webADI is ready for mass
creation.

In case you are having trouble with the download and excel
open’s up with below error the please refer to my previous article on this blog
as how to resolve this error.

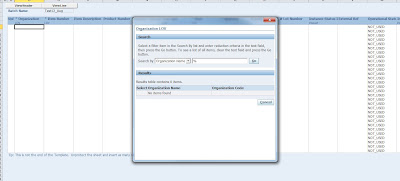
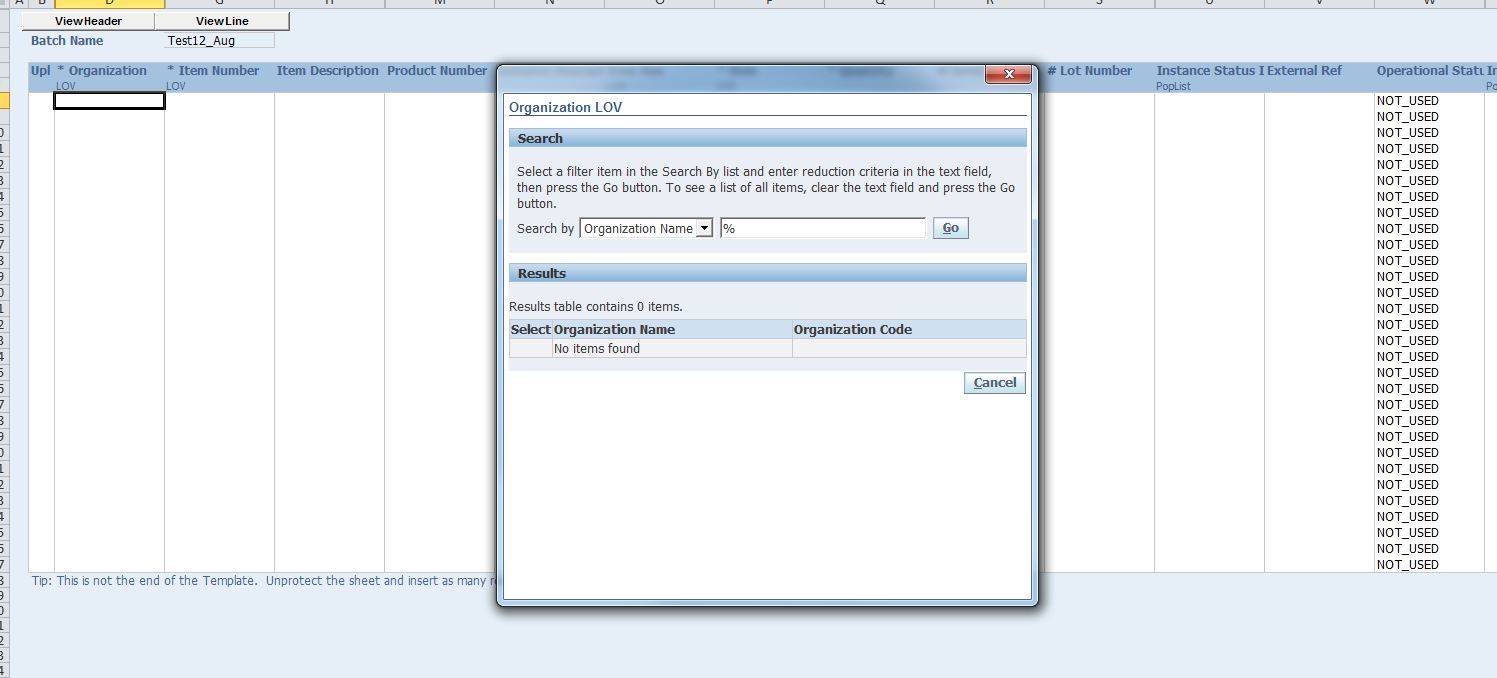
Now we can start entering data to this sheet the first
column Upl is a flag column which automatically gets marked as you enter data
in the particular row. The columns named as LOV are validating the data against
the Oracle DB in real time and you can use the same to search the required data
like as shown below for Organization LOV.
As you are done with entering the data you can use the below
menu to upload the data to oracle.

Once you click on Upload below message appears now select
Rows to Upload as Flagged Rows and only select All Rows if you want to upload
all rows which are available in excel sheet. Please take care when you are
selecting All Rows there should be no blank rows in the sheet else your upload
process will error. Keep both the check boxes checked to validate the data
before upload and to Automatically submit Import program. Click on Upload

The below message appears if the upload is successful. With
the request number generated here you can query the concurrent request by
navigating to the form based application and check if the instance were
uploaded successfully or not. The Output file shows the report for success and
failure with new generated instance numbers. Shown below is a sample output as well.

If the upload message says error or invalid then you can
navigate towards the last column of the sheet with column Header as Messages
and you can find the error message. Below this appears as green because the
batch was uploaded successfully.

Search and Manage Item Instances
If one tries to use Search and Manage Item Instances option
the below search window is available to search the existing item instances and
once clicked on Export the WebADI is downloaded to local machine and one can
perform the updates in the same fashion as explained above.

Key Features
- Single user interface to search
and manage one or more item instances in a single window
- Allows creation of one or more
Item Instances
- Enables splitting of item
instance quantity on update
- Enables create / update of
contract associations on item instances
- Provides feasibility to add
Batch note to uploaded instances (both updated and created instances)
- Supports DFF attribute values
and pricing attribute associations
- Allows view, mass update, mass
corrections and reload of item instances and configurations
- Validates fields in Mass Update
UI; Leverage the full power of Excel
- Faster Data Upload and Re-upload
Limitation
- Item Instance Party-Contacts
Association can be displayed only at top level. ie. Only one level of
association is only possible with Webadi excel.
- Bill To and Ship to Association
can be only added and no update is possible on these associations.
- Contracts covered at the
product level alone would be displayed in the excel.
- There will be no contract
impact on Item Instance owner change.
- Operational Status code will be
defaulted to 'NOT_USED' and that is the only supported code through
Webadi-Ib Mass Update.
- Inventory owned instance cannot
be updated as there is a limitation on the location details displayed.
Since the user will not be able to fetch the values for location as
location type code inventory is not present, subinventory details are not
present it will throw error saying location details are mandatory.
No comments:
Post a Comment